 | Fiberglass Log |
|
|
| ||||||
|
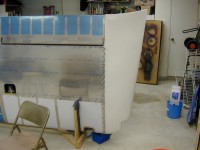
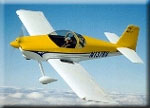
Home Project News February 3, 2021 Project Log Empennage Horizontal Stabilizer Vertical Stabilizer Rudder Elevators Rudder II Wing Kit Wings Fuel Tanks Ailerons Flaps Fuselage Kit Bulkheads Aft Section Foreward Section Top Fuselage Cabin Finish Canopy Cowling Electrical Firewall Forward Fuel System Engine Baffles Misc Miscellaneous Fiberglass Assembly Panel Finishing Up! FAQ Project Notes Project Summary Guestbook Other Stuff | There are several parts on the RV-7 that are made of fiberglass. The tips of the empennage parts, the wing tips, the intersection fairing where the VS and the HS meet, the engine cowling and the gear leg and wheel fairings are all fiberglass. If the sliding canopy version is chosen there is a little fiberglass fairing the windshield to the forward fuselage. Started fitting some of the fiberglass parts on the empennage Started cutting and fitting the wing tip to the right wing. Finished drilling pilot holes on the right wingtip.
Still trying to fit the right wingtip. Fit and drilled the W712 rib. I'ts going kinda slow but I want to get it right.
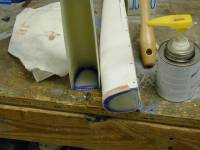
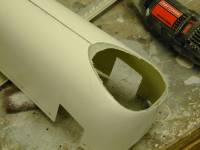
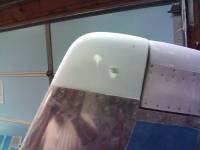
Finished installing the platenuts on the right wingtip. Now all that tip needs is the lights and the lense cover. Started fitting the left wing tip. Vern came over and helped me make a couple of layups on the fiberglass tail pieces. It really helps to see it done once, but it wasn't as bad as I thought it was going to be
Did a couple more layups on the tips of the HS and elevators. While waiting for the shop to warm up and layups to cure I finished the rib and platenuts on the left wingtip.
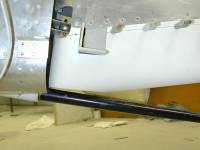
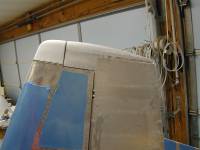
Sanded and formed a couple of the empennage tips that I had layed up before. It was too cold to attempt any mixing of resin. Started trimming the aft end of the fiberglass wing tips. The aft end of the tips stuck out about 3/8" past the the aileron, and both need trimming.
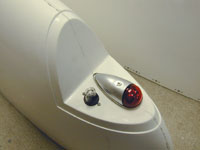
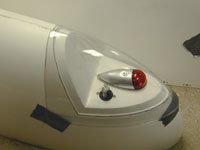
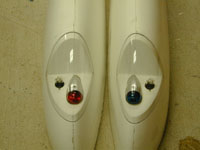
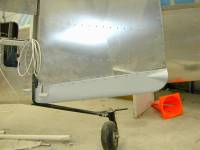
Finished trimming and sanding the wing tip aft edges. That was easier than I thought that it would be. Played with the new NOVA strobe power supply. What a show! Drilled the holes in the wingtips for the strobe head and the position lights and started fitting the lenses for the wing tip.
Finished up the wingtips.
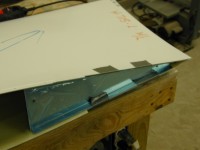
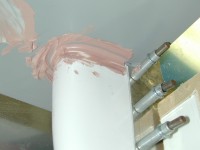
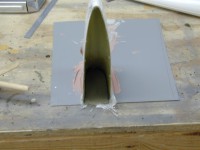
Today I needed to get ready for Vern to come over and finish the fiberglass on the windscreen. I sanded on the filler that I put on the windscreen last time and finished masking everything off. I swapped out the hardener pump on the West System epoxy and did a couple of layups on the empennage tips to make sure that I had all the fast hardener out of the pump. I figured while I was messing with the tips I'd keep it up so I spent the rest of the day doing that. Spent the day working on the empennage tips. I mounted the Vertical Stabilizer on the plane temporarily so that it would be easier to work on. I discovered that the rudder bottom that Van's sent with the kit doesn't fit. It interferes with the tailwheel spring. I cut a chunk off the bottom of it and fiberglassed what amounts to a flat spot in the bottom of it to clear. It turned out okay, I guess.
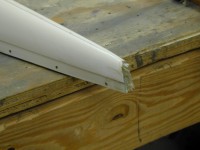
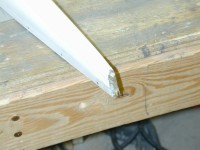
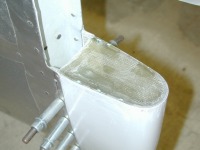
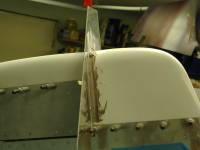
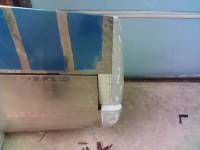
Still working on the emp tips. I think I have them all in generally right shape now they just need a little filling and sanding to get them just right. I did a little bit of the filling today but the sanding will have to wait until I get home from offshore. I managed to get the fiberglass tips riveted to the rudder.
Finished riveting the last of the fiberglass empennage tips. It feels good to be finished with that chore.
|