 | Project Log - October, 2004 |
|
|
| ||||||
|
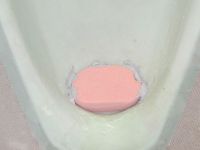
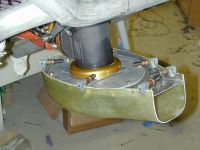
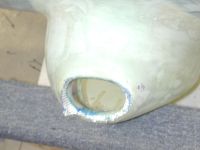
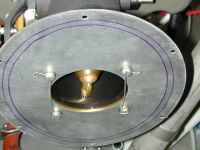
Home Project News February 3, 2021 Project Log Empennage Horizontal Stabilizer Vertical Stabilizer Rudder Elevators Rudder II Wing Kit Wings Fuel Tanks Ailerons Flaps Fuselage Kit Bulkheads Aft Section Foreward Section Top Fuselage Cabin Finish Canopy Cowling Electrical Firewall Forward Fuel System Engine Baffles Misc Miscellaneous Fiberglass Assembly Panel Finishing Up! FAQ Project Notes Project Summary Guestbook Other Stuff | Sanded on the aft canopy skirt a little and put another layer of Super-fil on it. Started fitting the filtered air box to the engine. I started by fluting the flanges of the mouting plate and getting the sleeve that is on the AFP turned so that the inlet lines up with the opening in the cowling. Sanded the last of the Super-fil and put two more layers of fiberglass on the aft canopy skirt. I see much sanding in my future. I finished getting the neck of the FAB lined up with the cowling. It took some pretty sharp flutes to get the top plate to bend enough. Then I spent a long time shaping and forming the foam block that is used to form the inlet transition. After all that it only took a few minutes to layup the glass on the foam.
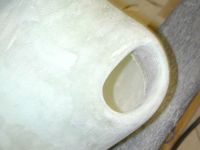
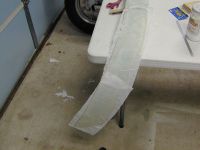
Trimmed and sanded on the inlet duct for the air box. I think I am going to have to cut part of it and re do it but we'll see once I get it trimmed back to the right length.
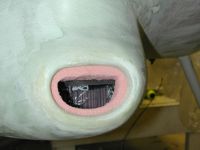
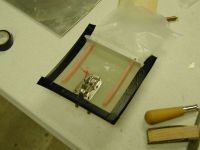
Trimmed and sanded on the inlet duct some more. Apparently I didn't get the cloth layed down very well on the left bottom so I cut that out, did the foam thing and re-layed some glass on it. I forgot to hook up the ground on the OAT probe for the Dynon D-10 so I cut that stuff loose and re-wired it. Sanded the inlet duct some more since I had to do that layup to fix it. I took the filter box off and started cutting and drilling the holes for the alternate air door. Finished the alternate air door in the air filter box.
Finsished the air filter box.
I didn't like the cheesy little tab washers that came in the FAB kit for mounting the airbox mount plate to the AFP servo. I had some drilled cap-screws that were the right diameter and pitch but they were too long. So I cut them down to size and instlled them. Then I safety wired them. I really don't want anything to come loose in there and get sucked into the engine.
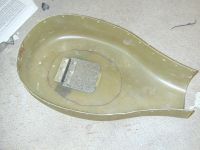
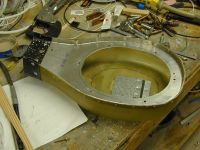
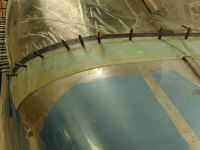
Drilled the mounting holes in the fiberglass aft skirt and then started trimming and sanding to get it to fit just right. It looks like it is going to work okay. It looks a lot better than the metal ones that I made.
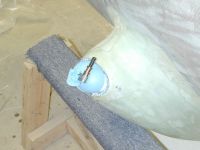
Sanded and trimmed on the aft skirt some more. Discovered that the little 'doghouse' that covers the rail is not shaped quite right so I cut it out and layed up another with the little nylon slide as a plug.
Sanded and trimed a little more on the aft skirt. This thing is taking way too long. I layed a couple more layers on the little 'dog house' and another coat of super-fil. I also spent a lot of time cleaning up. It's getting to the point where I can't find things anymore and that's not very productive. I didn't include the cleanup time in the database. Wired up the Aux alternator and the fuel pump. Still filling and sanding the aft canopy skirt. While I had some fiberglass mixed up I also glassed some stiffeners to the oil filler door too.
|