 | Project Log - September, 2003 |
|
|
| ||||||
|
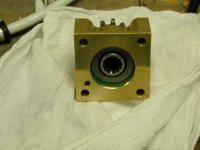
Home Project News February 3, 2021 Project Log Empennage Horizontal Stabilizer Vertical Stabilizer Rudder Elevators Rudder II Wing Kit Wings Fuel Tanks Ailerons Flaps Fuselage Kit Bulkheads Aft Section Foreward Section Top Fuselage Cabin Finish Canopy Cowling Electrical Firewall Forward Fuel System Engine Baffles Misc Miscellaneous Fiberglass Assembly Panel Finishing Up! FAQ Project Notes Project Summary Guestbook Other Stuff | Shannon came out and helped me drill the canopy side skirts to the side skirt braces. Dimpled and primed the side skirts and the side skirt braces. Finished countersinking all the rivet holes on the side skirts. Dimpled all the holes in the side skirt brace. I also trimmed the plastic away from the canopy in all the places where it contacts the frame and reassembled the canopy on the plane. Then I put the #6 screws in that hold the canopy to the side skirts. Started trimming and fitting the aft skirts. Made a strap duplicator for finding the holes on the aft skirts. I also played around with the alternator to see how it fits. Did a little bit more trimming on the aft skirts and started drilling one of them to the frame. I got a few toys from the mailman today and one of them was my Odessey battery, so I installed it. I also piddled with the alternator a little bit.
Shannon came out and helped me drill most of the rear skirt to canopy frame rivet holes. It looks like the thing may fit together after all. Finished trimming the aft canopy skirts. Mounted the starter and worked on some of the big wires. I had to trim a little corner off of the side canopy skirts because the edges were right on one of the canopy to frame rivets. Shannon helped me drill the last few holes that attach the aft skirts to the side skirts and I finished trying to get them to fit just right.
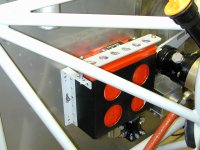
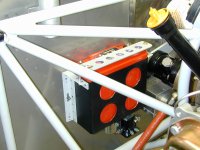
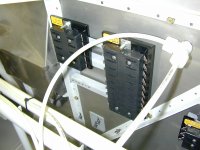
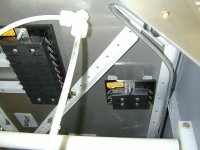
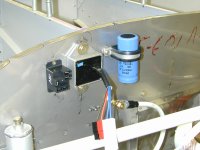
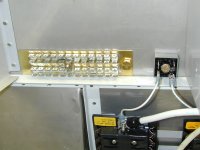
Mounted the ground block and started trying to find a place to put the fuse blocks. I started building some stand offs for the fuse blocks because I'm going to mount them on the firewall but I don't want all those nutplates on the engine side of the firewall. I'll rivet the standoffs onto the firewall (flush side forward) and mount the fuseblocks to the stand offs. I finished fabricating the stand offs for the fuse blocks. I also mounted the ANL current limiter base and figured out where I am going to put the alternator contactor, and made the doubler plate to mount it. Mounted the fuse blocks and the alternator contactor. I had to remove the battery box to rivet the stand offs for the fuse blocks. I started making the big cables.
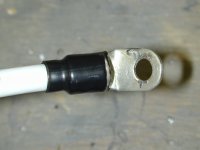
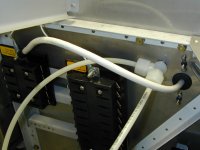
Worked on big wires. Finished the Alternator wire. Mounted and connected the diode between the Main Buss and the Essential Buss. Made the ground wire for the battery to firewall connection. I also mounted the SD-8 backup alternator to the vacuum pump pad on the engine.
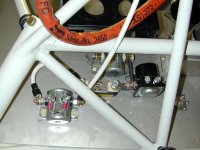
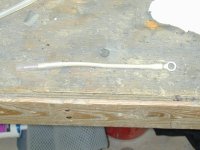
Made the 4AWG cable for the main buss connection and passed it through the firewall with a rubber grommet and a stainless cover. Passed the battery buss feed through the firewall. I also mounted all the components for the SD-8 backup alternator.
|