 | Project Log - February, 2003 |
|
|
| ||||||
|
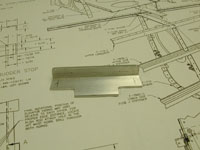
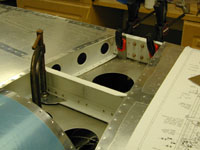
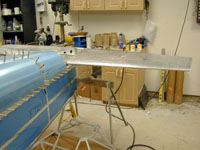
Home Project News February 3, 2021 Project Log Empennage Horizontal Stabilizer Vertical Stabilizer Rudder Elevators Rudder II Wing Kit Wings Fuel Tanks Ailerons Flaps Fuselage Kit Bulkheads Aft Section Foreward Section Top Fuselage Cabin Finish Canopy Cowling Electrical Firewall Forward Fuel System Engine Baffles Misc Miscellaneous Fiberglass Assembly Panel Finishing Up! FAQ Project Notes Project Summary Guestbook Other Stuff | More rivets into the left bottom skins Finished riveting the wing skins. The wings are now ready to go on the fuse. Also turned the fuselage around in the garage and rearranged things so that I'll have room to attach the wings. Started getting the tail ready to mount. Fixed and redrilled the center hinge holes in the elevator control horns. Drilled the holes in the elevator horn where the control push rod attaches, removed the elevators and started installing the tail on the fuselage. Fabricated the up elevator stop and the two little spacers that go under the HS forward spar. Clamped the Horizontal Stabilizer onto the fuselage and measured it all.
Finished installing the HS and started getting the VS clamped and lined up.
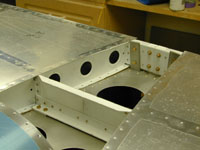
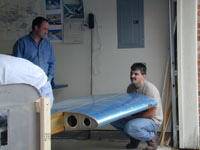
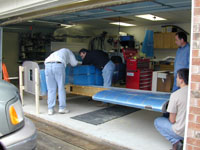
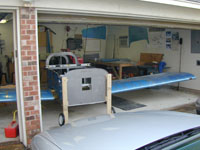
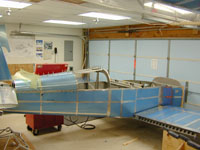
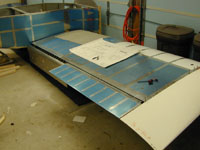
Cleaned up a little bit and rearranged the garage for installing the wings. Vern, Steve and John all came over and we managed to get the wings installed. Thanks a million guys.
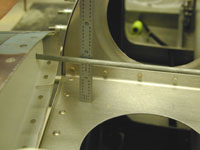
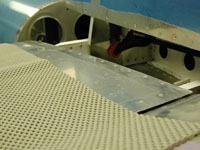
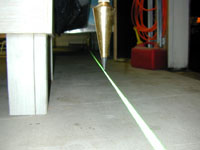
Checked the alignment of the wings and discovered that I have too much forward sweep. The wings are going to have to come back off so I can trim the rear spar a little more. Worked on aligning and drilling the VS to the fuselage. Shannon and Kelly came out to give me a hand with the wings and we managed to get them off and and after a little trimming they went back on and lined up just right.
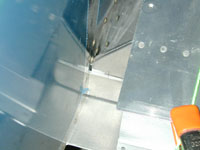
Finished the baffle seals on the engine baffles and spent the rest of the time trying to figure out how to seal around the inlets. I drilled the seal material for the inlets. Measured the sweep, incidence angle and angle from the fuse again. Mounted the flaps to make sure that they would close properly, then took them off. Then I took a long break, came back out to the garage measured everything again, stood back and scratched my head, and then once I had measured everything one more time, I finally got up the nerve to drill a 1/8" hole through the rear spar attach point. Whew a whole day and two holes.
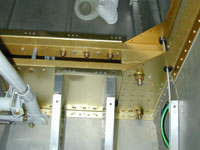
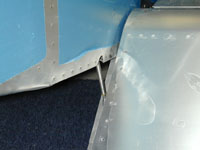
Measured the wings again, and then started enlarging the holes in the rear spar attach. Finally got them out to 5/16" and started breathing again. Then I drilled the holes where the bottom fuselage skin overlaps and will be screwed to the wing once that was done I started working on the fuel tank attach brackets.
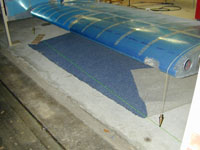
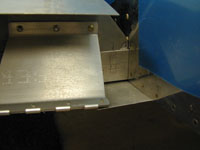
Had some trouble getting the left fuel tank bracket stuff riveted together. Finally got it all drilled and ready to bolt on and primed the steel parts, I'll finish it tomorrow. Finished the fuel tank attach brackets and drilled the hole in the tank bracket. Attached the ailerons to the wings and set the pushrod lengths. Also mounted the flaps to the wings.
I didn't like one of the original flap push rods that I made so I made another one. I set the right flap pushrod length and cut the funny looking hole in the bottom of the fuselage for the pushrod to move through. Finished the flap pushrods.
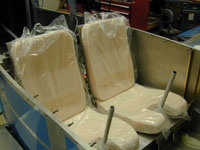
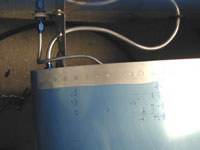
Worked on the fuel tank vent lines. The seats also came today so I put them in the cockpit.
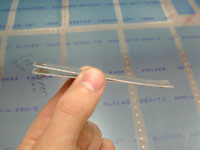
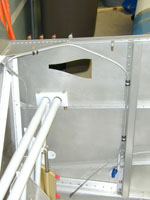
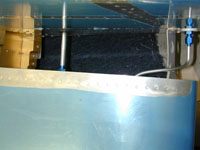
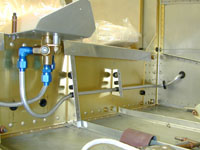
Finished both the fuel vent lines. Made the little screens that go on the bulkhead fittings that serve as the vents, and JB Welded them to the fittings. Finished installing the vent lines (the bulkhead fitting finally cured) and started putting the fuel valve together. I didn't finish the fuel valve because I am waiting on fuel lube to come in.
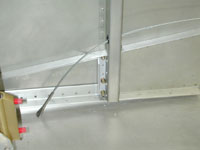
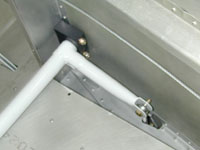
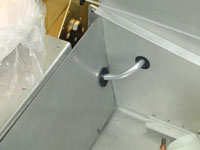
Bent the fuel line that comes in from the right tank. This is the easiest of the two since the left tank has the inverted modification on it and it's pickup comes in from the front of the tak
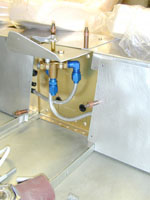
I got my fuel lube in so I installed the fittings to the fuel selector valve and fit the right fuel line to the valve. Finished up the fuel line going from the fuel selector valve to the left tank. This is the tricky one because the fuel pickup is at the forward end of the tank so there are bends inside the wing root.
|